
Bringing a community over from another app? In half an hour you can set up the server on Zync with the same organization. Follow the order below: each step builds on the previous one.
1. Create the server
In the server bar on the left, click + and Create server. Give it the community’s name and upload the icon. You become the server owner, with every permission.
2. Set up categories and channels
Recreate the structure your community already knows, starting with the categories. In the server menu (click the name at the top of the channel list), use Create category and Create channel. Channel types are:
- Text, for everyday chat;
- Voice, to talk, turn on the camera and share your screen;
- Announcements, where only people with permission post and everyone else reads;
- Forum, with posts and tags for questions, suggestions and guides.
In Edit channel, you can turn on Slow mode in the busiest channels.
3. Recreate roles and permissions
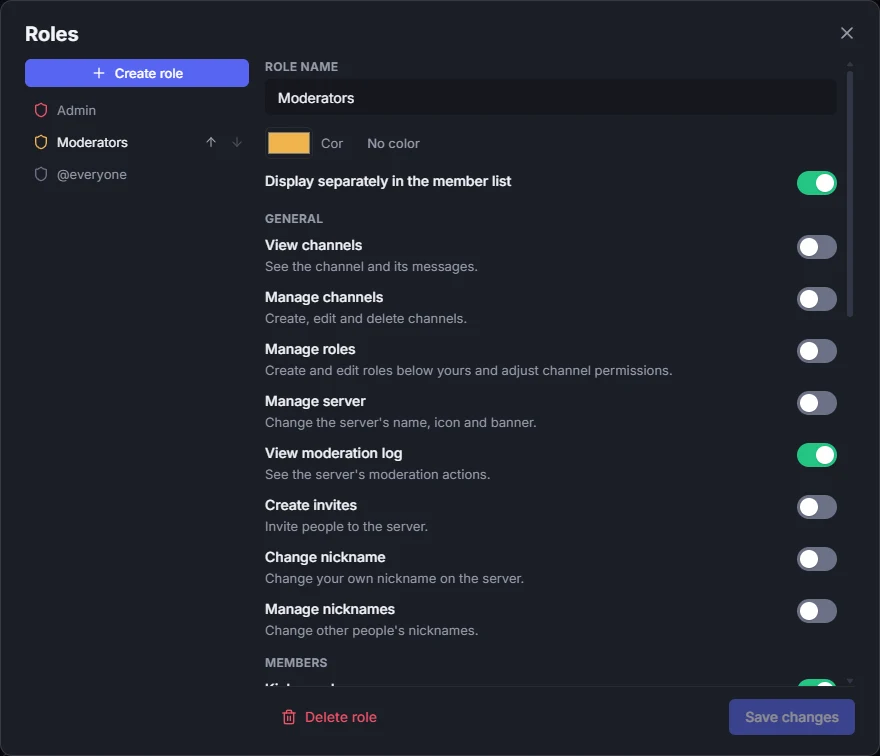
In the server menu, open Roles and create them from highest to lowest (for example: Admin, Moderation, Members). Those above manage those below, and nobody touches those above them. The @everyone role sets what everybody can do by default.
Staff-only or read-only channel? In Edit channel → Channel permissions, choose for each role or person whether a permission is allowed, inherited or denied.
4. Rules, welcome and emojis
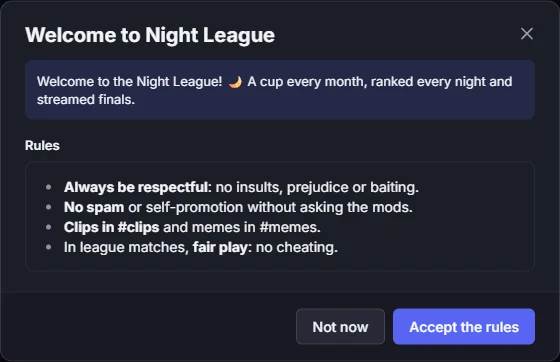
In the server menu, under Server rules, write the rules (lists and formatting work) and turn on required acceptance: newcomers can only write after accepting. In Server settings, upload your community’s emojis, which show in messages and reactions.
5. Bots and alerts from other services
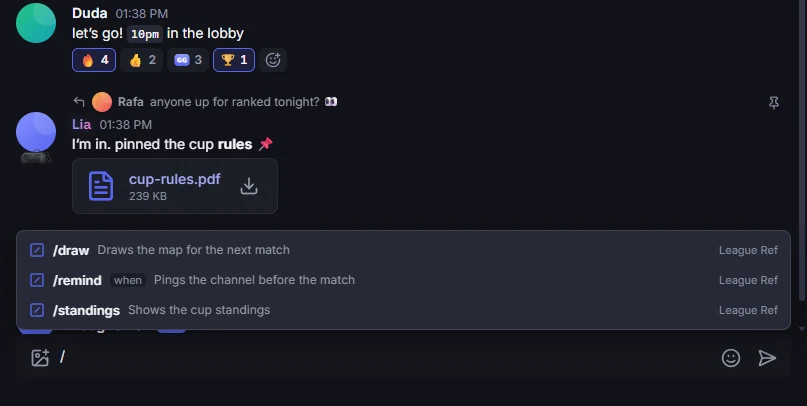
The bots your community used do not come along: each app has its own API. On Zync, you create the bot in Settings → Developer, with slash commands, and add it to the server. Developers will find everything in the developer guide.
For automatic alerts (deploys, feeds, monitoring), use a webhook: in Edit channel → Webhooks, create one and paste the URL into the other service. See Bots and integrations.
6. Put upcoming events on the calendar
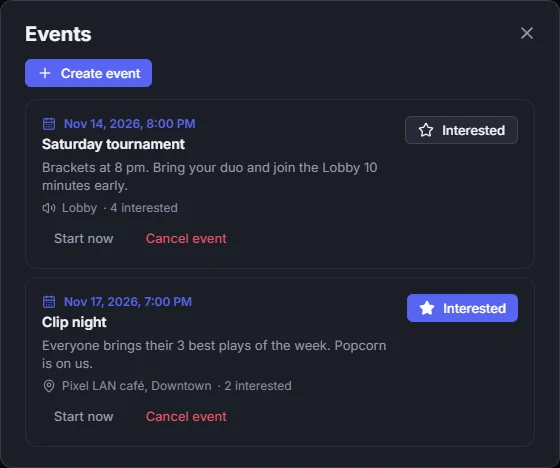
If your community has meetups, tournaments or streams scheduled, use Create event on the server calendar. Everyone interested gets notified when the event starts.
7. Bring people in
In the server menu, Invite people creates a link, with an expiry and a usage limit if you want. In Server settings → Community, create a Custom invite name: an easy-to-remember link like usezync.com/convite/your-community. It opens in the browser, so people who do not have Zync yet can join without installing anything.
Post the invite in your old community’s announcement channel and pin it. Want new people to find the server too? Turn on Show in Explore communities in the same section.
After the move
- Give the moderation role to the people who already moderated, before opening the doors.
- Test with a member account: check that the right channels show up and the read-only ones are locked.
- As the server grows, boosts unlock more member slots, emojis and viewers. See Boosts and levels.